

Professional stone masonry installation follows a deliberate sequence of steps that transform raw stone into durable, beautiful structures. The stone masonry installation process begins with thorough site assessment and planning, progresses through material selection and foundation preparation, and concludes with expert placement and finishing. Each phase demands specialized skills, proper tools, and attention to detail that distinguish professional work from amateur attempts.
Why Stone Remains a Premium Building Material
Natural stone has served as a construction material for thousands of years because it offers unmatched durability and timeless aesthetic appeal. Stone structures can last centuries with minimal maintenance, resisting weather, fire, and pest damage that compromise other materials. The thermal mass of stone helps regulate temperature, keeping interiors cooler in summer and warmer in winter.
Property owners choose stone for retaining walls, outdoor kitchens, columns, facades, and garden features because it adds immediate value and visual interest. Unlike manufactured products that fade or deteriorate, quality stone masonry actually improves in appearance over time as it weathers naturally.
The Critical Planning Phase
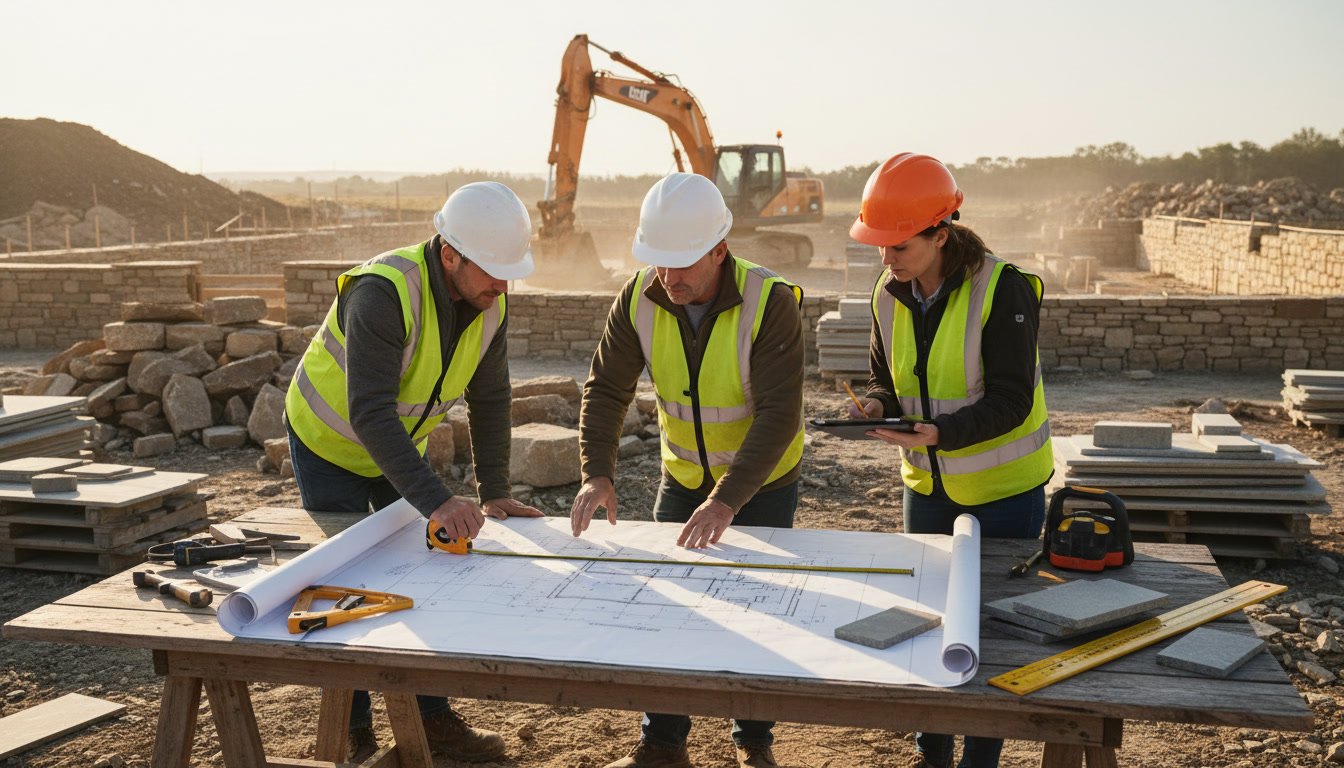
Every successful installation begins with comprehensive planning. Professional masons evaluate the project site, measuring dimensions, assessing soil conditions, and identifying drainage patterns that might affect the structure. They determine whether the existing ground can support the weight of stone or if additional foundation work is necessary.
During this phase, clients select specific stone types based on the project requirements. Fieldstone, limestone, granite, sandstone, and slate each offer distinct colors, textures, and structural properties. The mason calculates the quantity needed, accounting for waste from cutting and fitting. Experienced professionals like those at Mark Pecoraro Masonry can accurately estimate materials, preventing costly shortages or excessive overages mid-project.
Site Preparation and Foundation Work
Proper foundation work determines whether a stone structure stands for decades or fails prematurely. Masons excavate the area to the depth specified by engineering requirements, typically 12 to 18 inches below the frost line for freestanding walls. They remove organic material, roots, and debris that could decompose and create voids beneath the structure.
The base layer usually consists of compacted crushed stone or gravel, creating a stable, well-draining platform. This aggregate base gets compacted in lifts, with each layer thoroughly compressed before adding the next. For larger projects, concrete footings provide additional support, poured to specific widths and depths calculated based on the wall height and soil bearing capacity.
Material Preparation and Sorting
Before installation begins, masons sort stones by size, shape, and color. This organization streamlines the building process and ensures aesthetic consistency throughout the project. Large, flat stones become foundation courses or cap pieces. Medium stones form the main body. Small stones and chips fill gaps and create stability.
Many stones require cutting to achieve proper fit. Professional masons use diamond-blade wet saws, angle grinders, and chisels to shape stones precisely. This step demands experience because improper cutting can waste expensive material or create weak points in the structure. The goal is to minimize cutting while achieving tight joints that resist water infiltration and shifting.
The Stone Laying Process in Palm Beach Climate
Installation begins with the foundation course, where the largest, flattest stones create a stable base. Masons set each stone with the broadest face down and check for level in both directions. In humid coastal environments, proper drainage becomes especially critical to prevent moisture-related damage.
Each subsequent course overlaps the joints below, similar to brick running bond patterns. This interlocking arrangement distributes weight and prevents vertical cracks from forming. Masons test-fit stones before applying mortar, rotating and repositioning to find the optimal placement. Professional installers achieve joints between one-quarter and three-eighths inch wide, narrow enough for structural integrity yet wide enough to accommodate mortar.
One expert insight often overlooked by inexperienced builders: in Florida’s climate, adding a small amount of lime to mortar mix improves flexibility and reduces cracking as materials expand and contract with temperature and humidity changes. This adjustment, combined with proper tooling of joints, significantly extends the lifespan of masonry installations in coastal regions.
Mortar Selection and Application Techniques
The mortar that binds stones together must balance strength with flexibility. Type N mortar, with a mix ratio of one part Portland cement, one part lime, and six parts sand, suits most stone applications. For veneer work where structural demands are lower, even softer mixes perform well.
Professional masons apply mortar to the foundation and the back of each stone, a technique called buttering. They press stones firmly into place, forcing mortar into all voids. Excess mortar gets scraped away before it hardens. As work progresses, masons periodically step back to verify that courses remain level and plumb, making corrections before the mortar sets.
Step-by-Step Installation Sequence
Understanding the typical workflow helps property owners recognize quality workmanship:
- Lay the foundation course with the largest stones, establishing level and alignment
- Build up corners and ends first, creating reference points for the middle sections
- Fill between corners, maintaining consistent joint width and proper bonding patterns
- Insert tie stones that span the full wall thickness every few feet for stability
- Check level and plumb frequently, making adjustments while mortar remains workable
- Tool joints to compress mortar and create a weatherproof seal
- Clean stone faces before mortar fully hardens to prevent permanent staining
- Install capstones or coping stones along the top for water shedding and finished appearance
This sequence mirrors the approach detailed in our guide on how stone patios and walkways are built, though vertical structures require additional attention to stability and drainage.
Joint Finishing and Tooling
After mortar reaches thumbprint hardness, typically 30 to 90 minutes after application depending on temperature and humidity, masons tool the joints. A pointing trowel or specialized jointer compresses and shapes the mortar, creating a concave profile that sheds water away from the joint. This step transforms rough masonry into finished work with clean lines and professional appearance.
Joint profile affects both aesthetics and performance. Concave joints work well for most applications. Flush joints create a smoother, more contemporary look but offer less weather protection. Raked joints, where mortar sits slightly recessed, emphasize individual stones but require careful detailing to prevent water infiltration.

Drainage Integration and Waterproofing
Professional installations incorporate drainage solutions that protect the structure and surrounding property. Weep holes placed every few feet along the base course allow water to escape from behind retaining walls. Gravel backfill creates a drainage layer that channels water away from the masonry.
For walls that retain soil or experience significant moisture exposure, masons apply waterproofing membranes to the back face before backfilling. Perforated drain pipes at the base collect and redirect groundwater. These details, often invisible in the finished product, determine whether a wall lasts 20 years or 200 years. Property owners concerned about moisture issues should review our article on masonry waterproofing for additional context.
Curing Time and Protection Measures
After installation, mortar requires proper curing to achieve full strength. This process takes 28 days, though the structure gains usable strength much sooner. During the first week, masons protect the work from temperature extremes, direct sun, and heavy rain. In hot weather, they may mist the masonry periodically to slow the curing rate and prevent cracking.
Premature stress on new masonry can cause joint failure or stone displacement. Professional installers advise clients to avoid leaning on walls, placing heavy objects against them, or directing sprinkler systems at fresh work until curing completes. This patience pays dividends in long-term structural integrity.
Quality Work Stands the Test of Time
Professional stone masonry installation transforms properties through the combination of quality materials, expert technique, and attention to detail at every phase. From initial site assessment through final curing, each step builds on the previous one to create structures that serve families for generations.
The difference between adequate work and exceptional craftsmanship becomes apparent over years of exposure to weather, settling, and use. Properly installed stone requires minimal masonry maintenance, while shortcuts taken during installation lead to costly repairs down the road.
Mark Pecoraro Masonry brings more than 40 years of hands-on experience to every stone installation project. Our team understands the unique challenges of working with natural materials in coastal environments and applies proven techniques that ensure lasting results. Whether you’re planning a retaining wall, outdoor kitchen, or decorative stonework, professional guidance makes the difference between a project that meets expectations and one that exceeds them. Contact our team at +15619510233 to discuss your stone masonry project and receive a detailed assessment of your specific site and requirements.

